


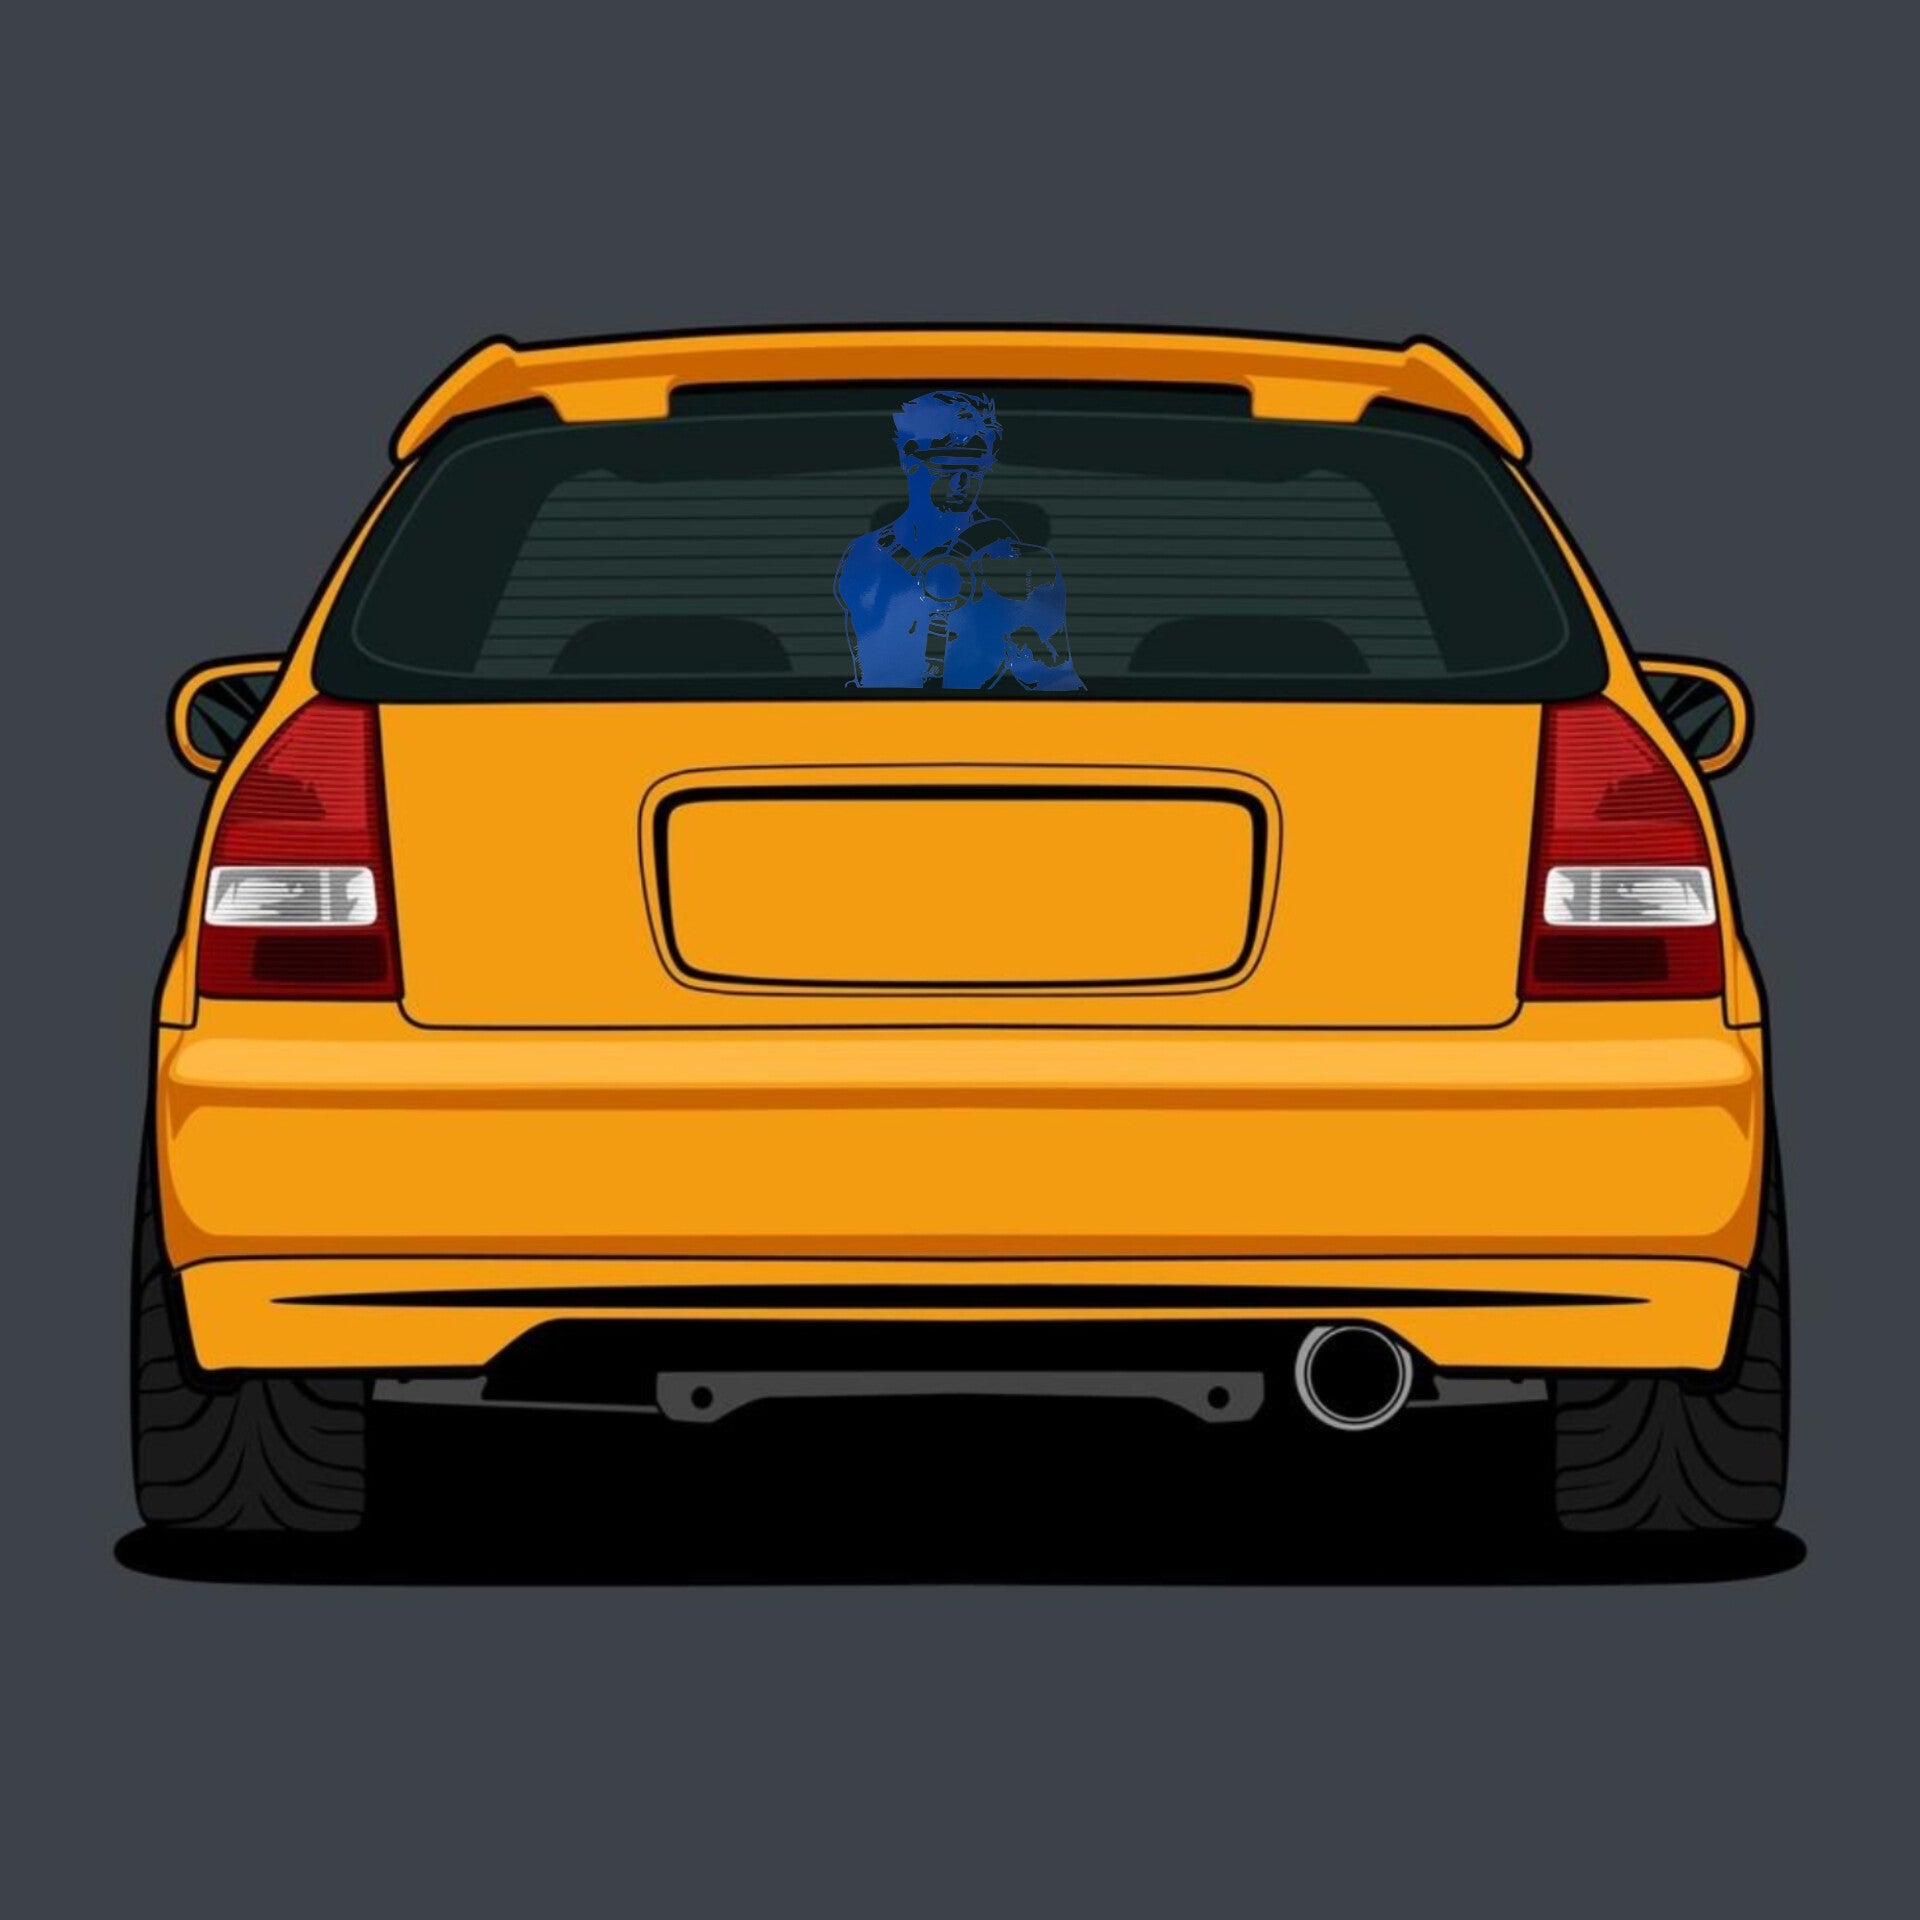


How to Apply Your Vinyl Decal
Materials Needed:
-
Vinyl decal with transfer tape
-
Clean cloth or towel
-
Rubbing alcohol or mild soap and water
-
Squeegee or credit card (to smooth the decal)
-
Masking tape (optional)
-
Scissors (optional)
Step-by-Step Instructions:
-
Prepare the Surface
-
Clean the surface thoroughly with rubbing alcohol or mild soap and water to remove dust, dirt, and oils.
-
Let the surface dry completely before proceeding.
-
-
Position the Decal
-
Without removing the backing paper, place the decal (with transfer tape) on the surface to check placement.
-
Use masking tape to temporarily hold the decal in place if needed for adjustments.
-
-
Peel Backing Paper
-
Carefully peel the backing paper away from the vinyl decal, making sure the decal sticks to the transfer tape.
-
Avoid touching the adhesive side with your fingers to keep it clean.
-
-
Apply the Decal
-
Align the decal and transfer tape carefully on the surface.
-
Starting from one edge, press the decal onto the surface.
-
Use a squeegee or credit card to firmly press the decal down, working from the center outward to remove air bubbles.
-
-
Remove Transfer Tape
-
Slowly and carefully peel off the transfer tape at a sharp angle, ensuring the vinyl decal stays on the surface.
-
If parts of the decal lift, press them back down and squeegee again.
-
-
Final Touches
-
Smooth out any remaining bubbles by gently pushing them toward the edges with the squeegee or a pin to release trapped air.
-
Avoid washing or exposing the decal to moisture for at least 24 hours to allow proper adhesion.
-